
Ever since I drove a campus bus in college, I’ve wanted to convert one into an RV. I’d done a little searching over the past few years and came across a pretty good deal in November 2014 on Craigslist right in Virginia Beach.
This church was retiring some of their fleet and only wanted $2000 for a 1994 Blue Bird TC 2000. I figured it was worth checking out and made a trip over to the beach for a test drive.

The bus drove well, so I offered them $1500 for it as long as it passed a state inspection. Upon getting an inspection, I learned that it passed on everything except the wipers, front tire, and tie rod end. All of that could be repaired for around $600, so I went back and made a counter offer of $1000. They accepted, so the next week, I picked a cashier’s check from my bank, a coworker to drive me, and I went to pick up the bus. I immediately dropped it off at the place I got it inspected, where they installed the parts and gave it a passing inspection sticker.
Converting the RB
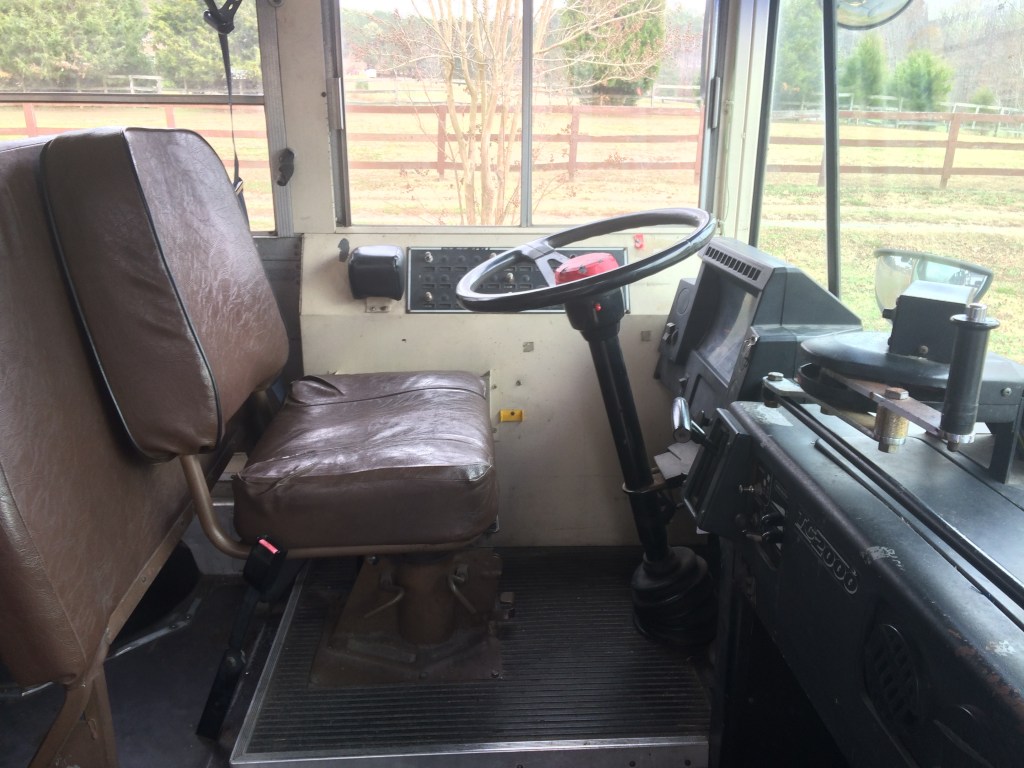
Once I got the bus home, we proceeded with the daunting task of stripping out the entire interior. This beast had seen many years of abuse by thousands of rowdy schoolchildren. the seats were worn and torn, the driver’s area had seen better days, and the interior had that wonderful “bus smell” that I remembered from my middle school years.
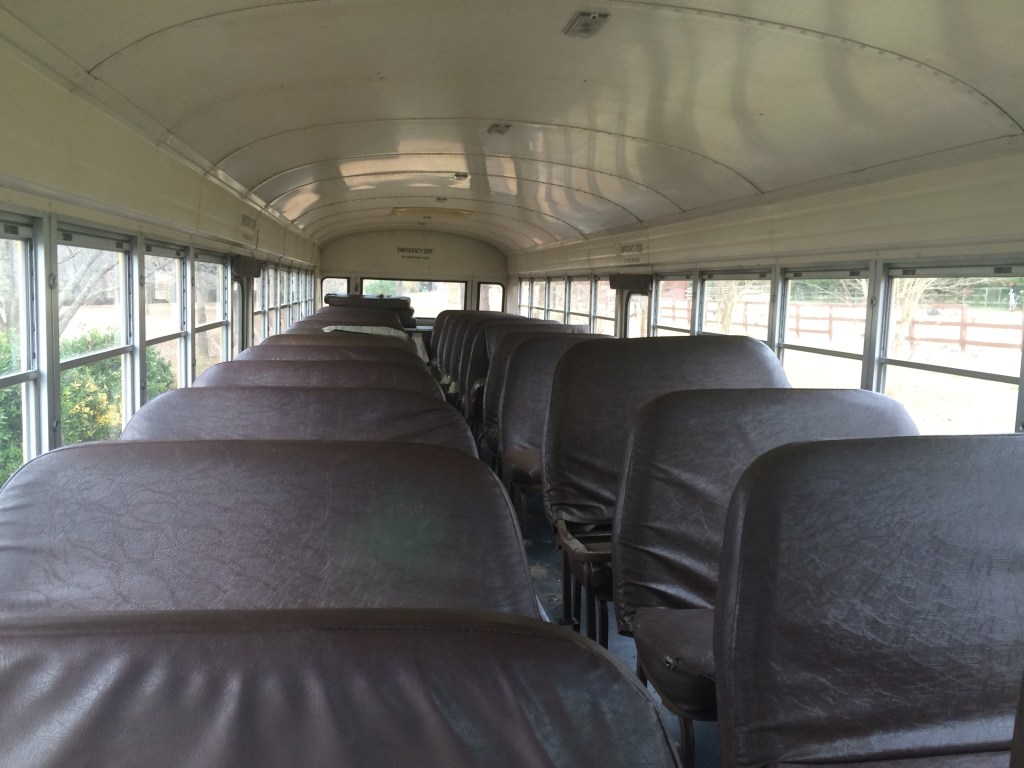


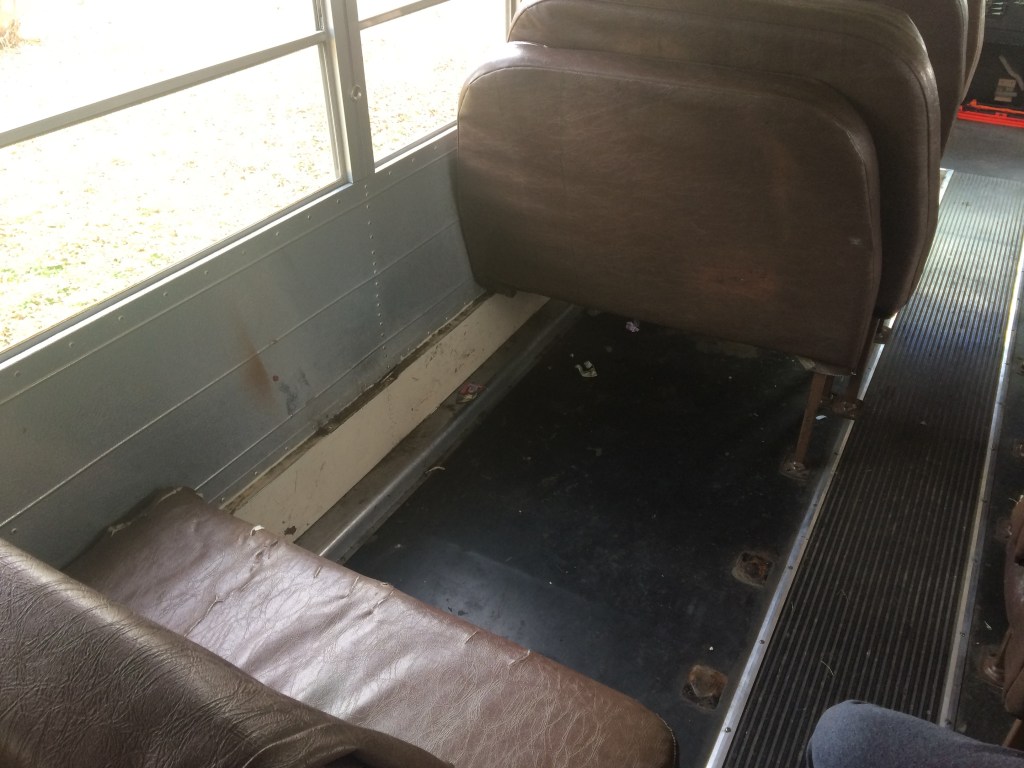
We began by removing the seats. Some were much easier than others. Each leg is thru-bolted through the floor, and I believe they were all attached to the body before the bus body was attached to the frame. The seats in the middle of the bus weren’t so bad, but all the seats over the axles proved very hard to remove. We eventually resorted to cutting the bolts with a cutting wheel to speed up the process. As we removed the seats, we also tore off the rubber flooring below.


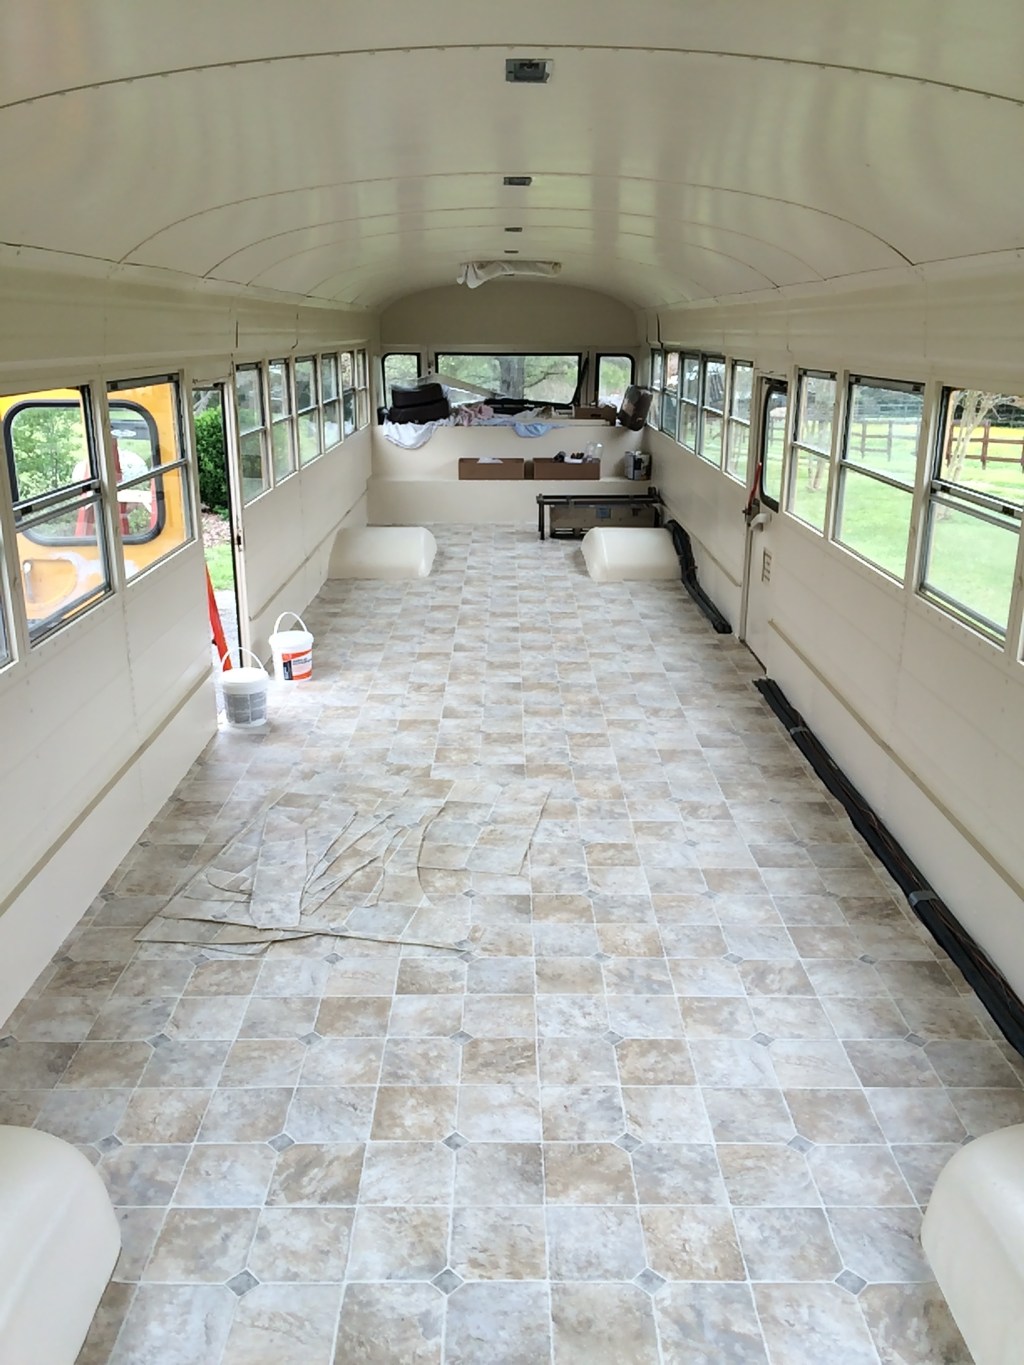
Once the interior was stripped, we began laying down plywood to make a smooth base to install the linoleum and interior pieces.

After we laid the plywood, my mother and sister were nice enough to paint the ceiling and sidewalls with some matching paint. Then one of the following weekends, my coworker Ryan came by to assist in installing the linoleum.


Once the weather warmed up, we tackled the exterior. My mom and sister started with the sides while I painted the roof with some reflective elastomeric roof paint.


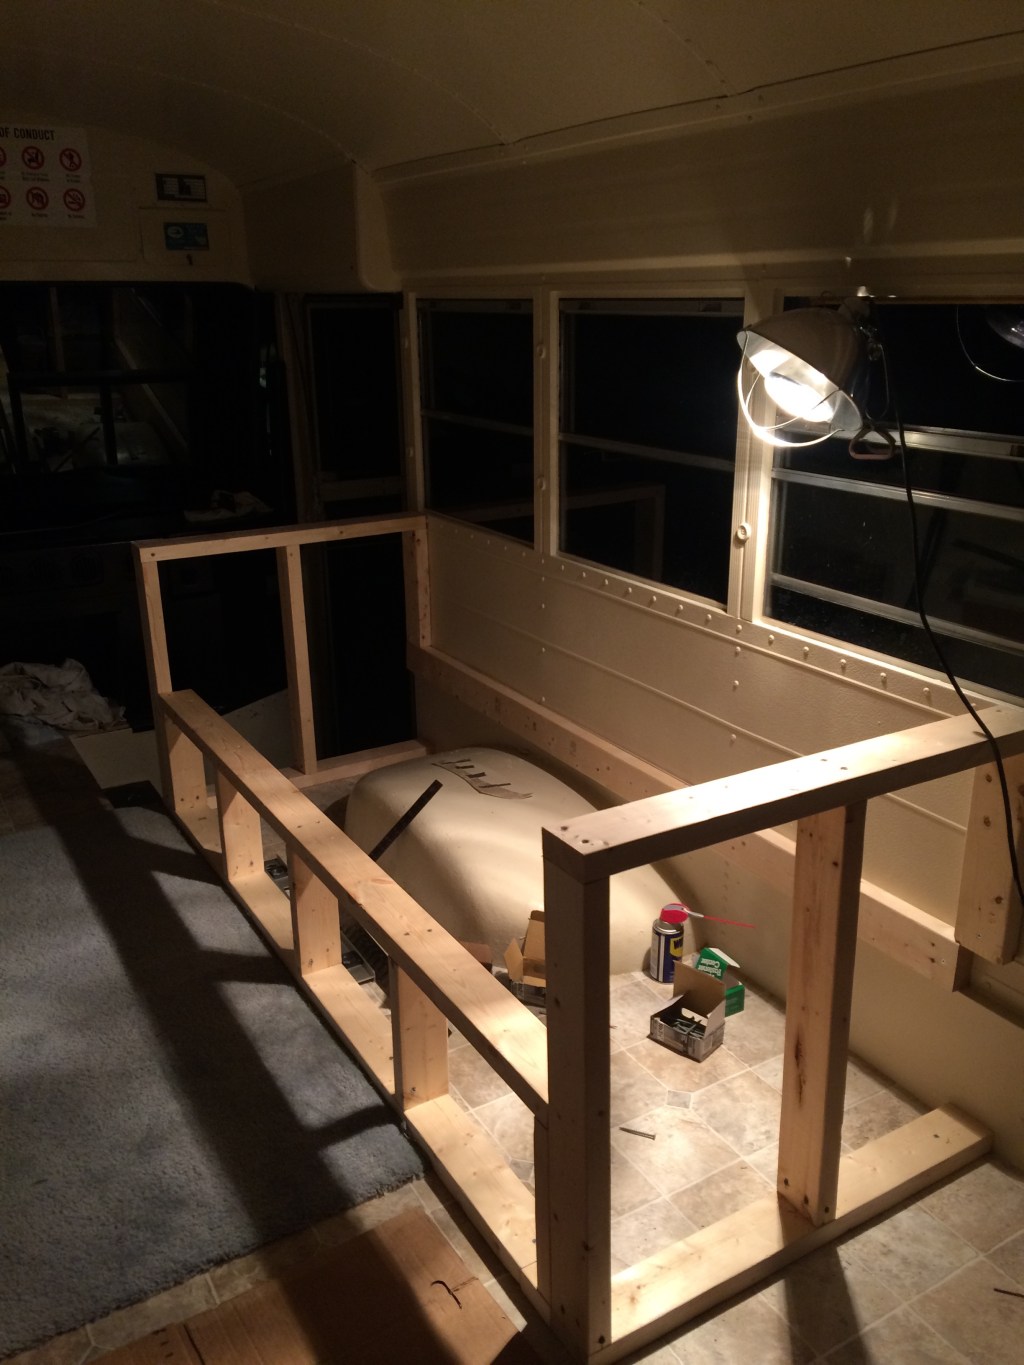
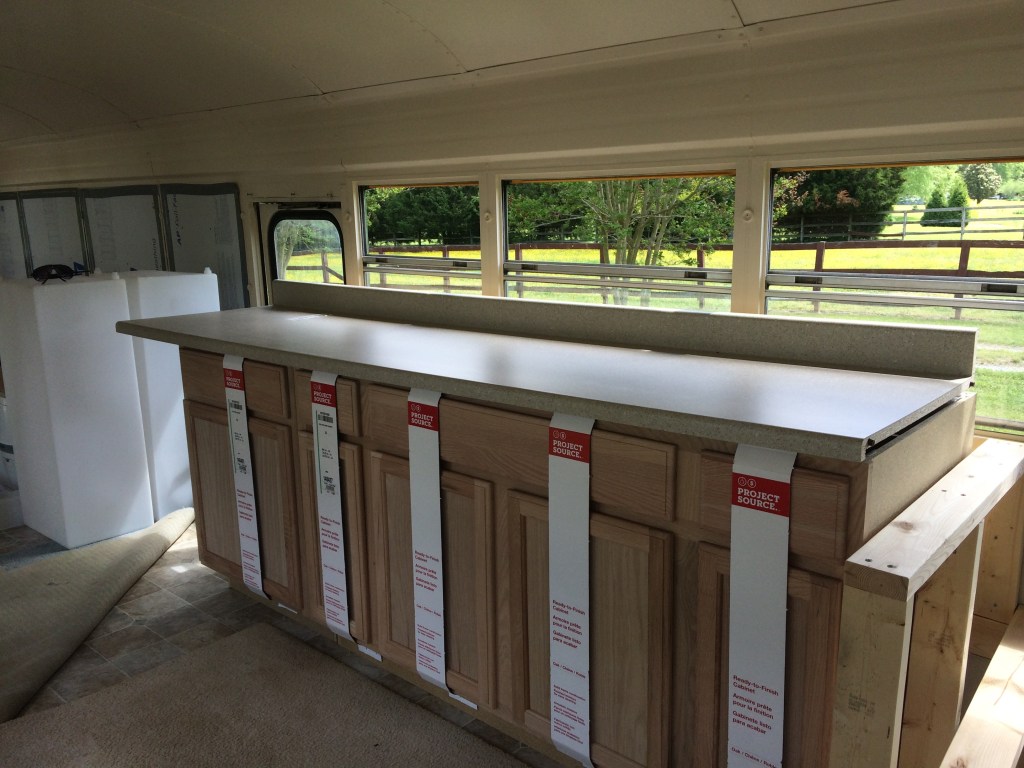
After finishing the roof, I made my way inside and began to black out and insulate the rear windows, frame out the bunk beds and start building the couches and eventually the dinette. We also bought some kitchen cabinets and a countertop from Lowes. They were surprisingly inexpensive if you bought the stainable cabinets and that allowed us to match the color of the cabinets to the walls. Using jigsaw and a circular saw, we cut the countertop down to the proper length and made a hole for the sink.


I also bought a hole saw on Amazon and began to cut holes for the speakers for the radio. I also bought a radio adapter on Amazon and used it to fabricate a slot for a standard car stereo. In retrospect, a jigsaw would have probably made less of a mess than a cutting wheel.


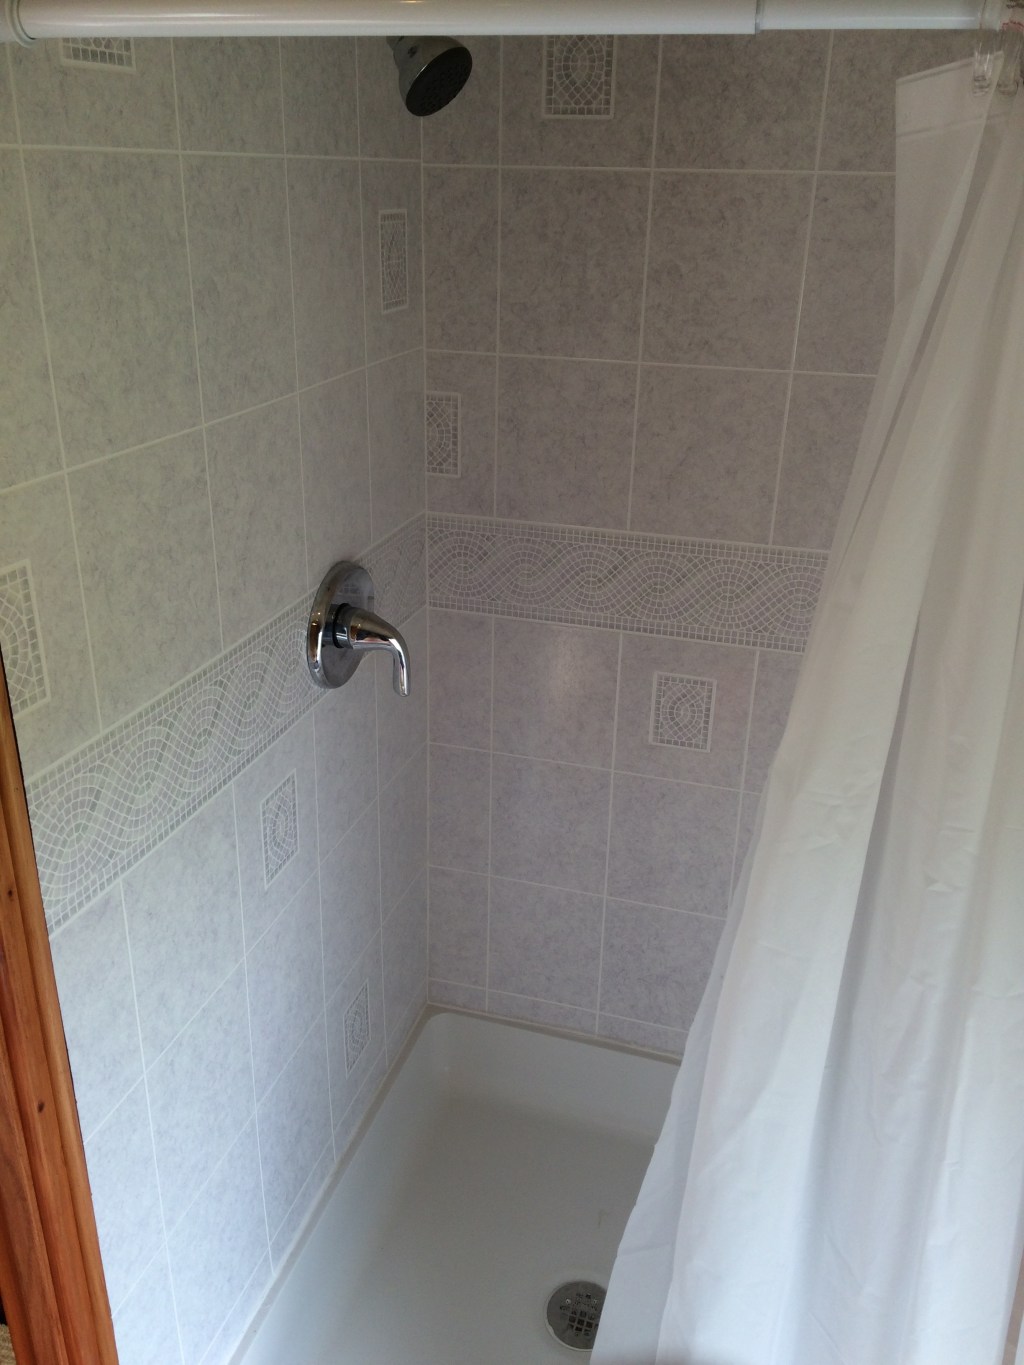
I also used the hole saw to cut a hole for the shower drain. After burning out two lesser drills on this project (one in the course of 5 minutes when I cut the shower drain), I highly recommend the Milwaukee Magnum.

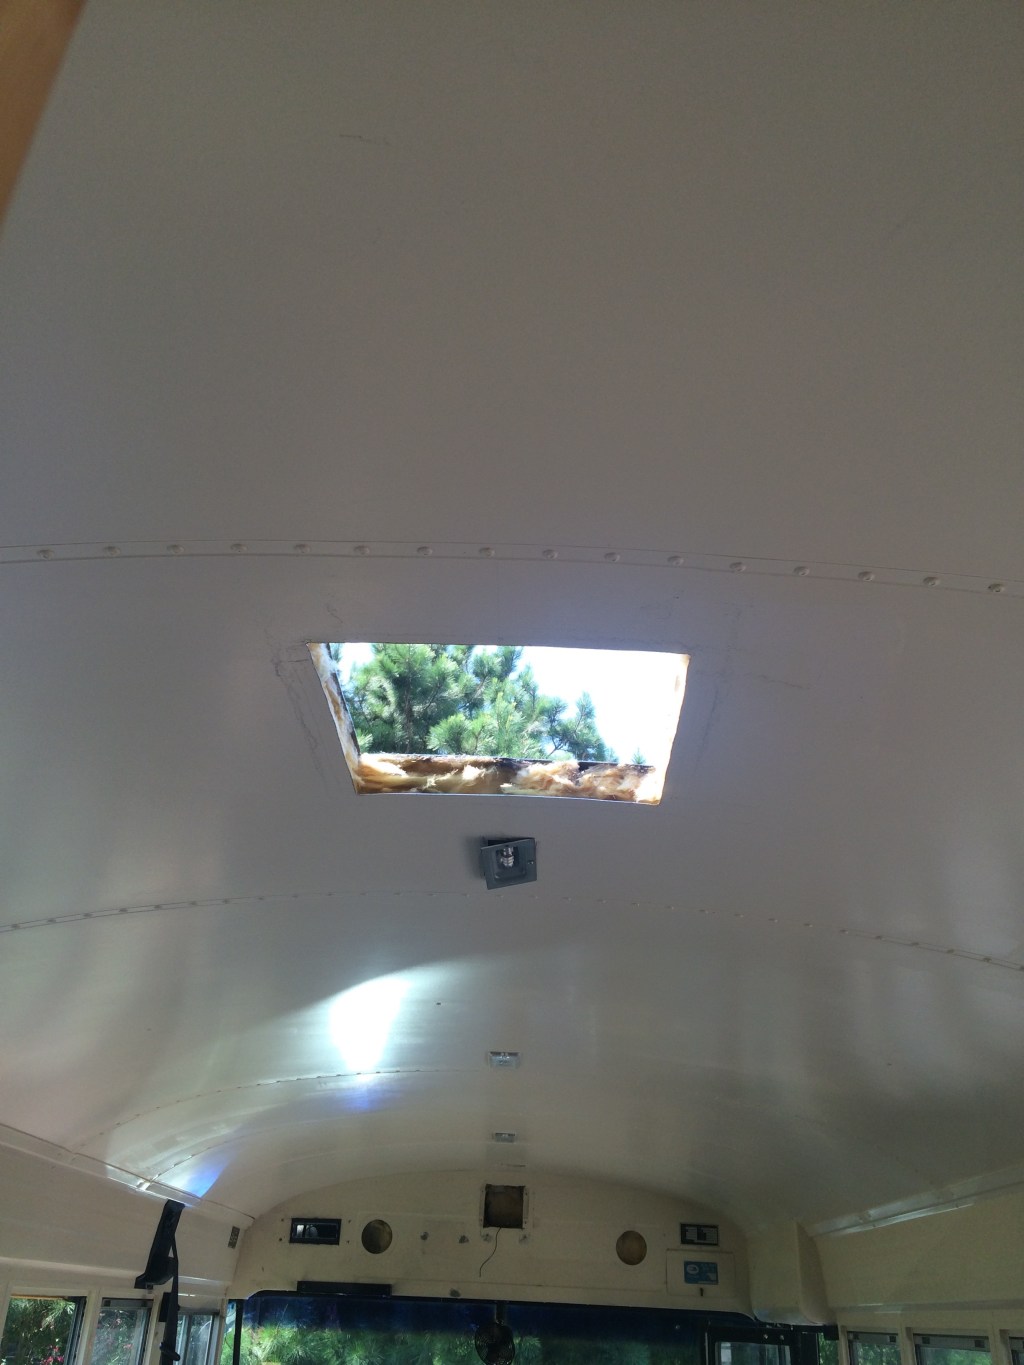
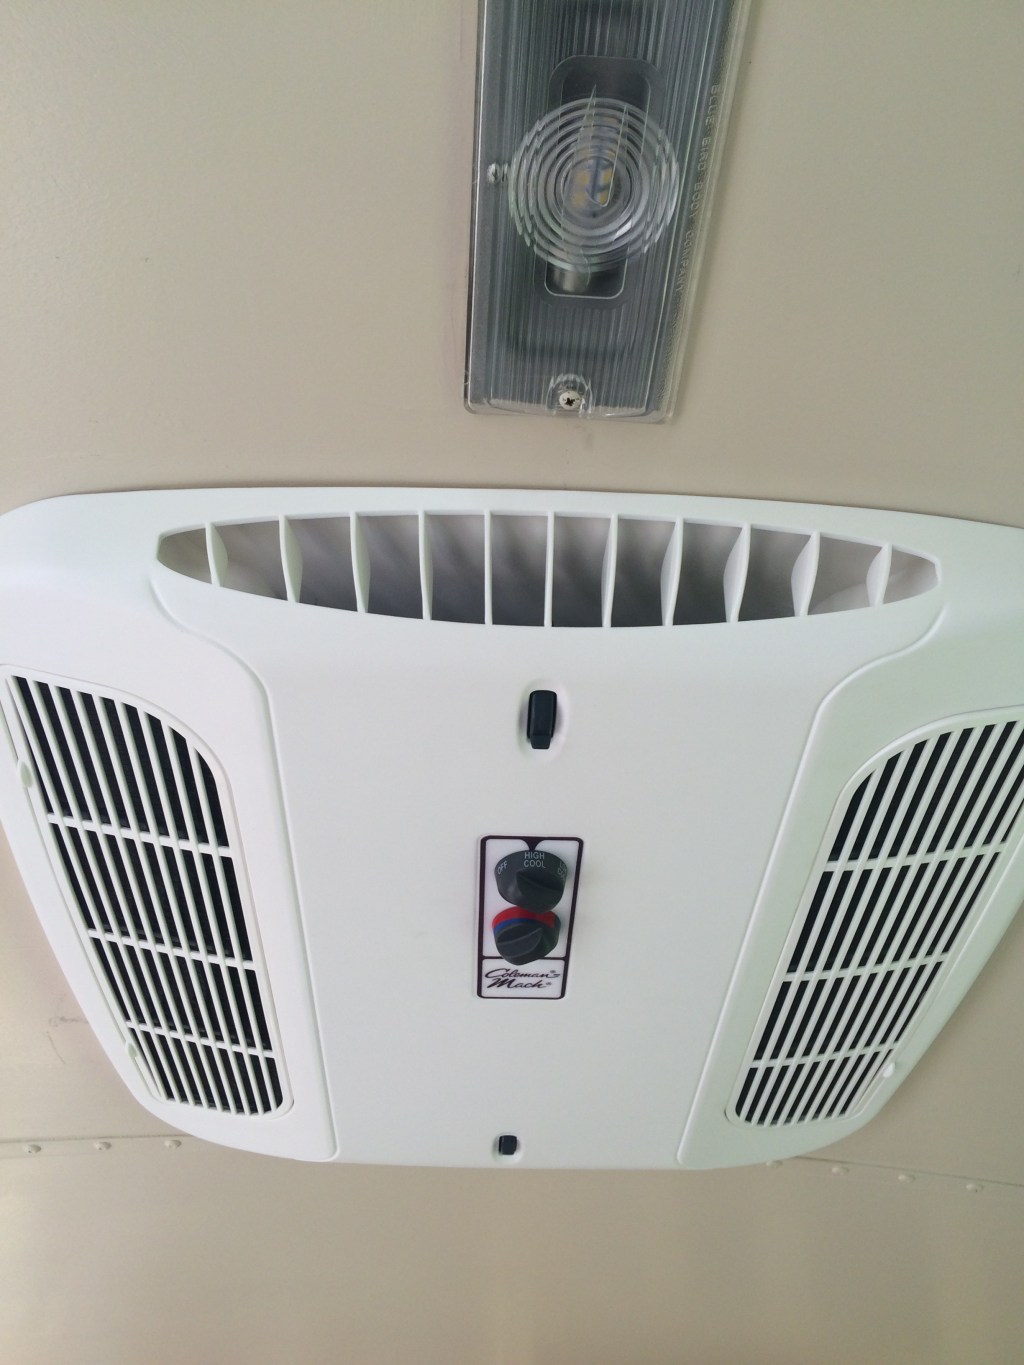
Ryan was also kind enough to come by again to help install the air conditioner one weekend. It took three people to haul it onto the roof and it took the two of us the greater part of an hour to cut through the two layers of sheet metal to make a hole for it. Then another half hour to snake the wire through the ceiling and to the spot for the electrical panel.

I also made careful use of a cutting wheel and made a nice hole for the 30-amp plug on the driver’s side of the bus.

Now we were ready to start the plumbing. We decided to use half-inch PEX for all of the plumbing. It only needs elbows for the tightest of turns and it resists freezing pretty well. Originally I planned for a shower and kitchen sink, with the ability to add a bathroom sink later on.
I also purchased all the water tanks for the RV. Instead of getting one two 80-gallon tanks for fresh and gray water, I found out that it was cheaper (especially for shipping) to purchase four 40-gallon tanks and plumb them together. The fresh water tanks will go underneath the rear bed and the gray tanks will be placed in a frame underneath the RV.


With all the framing, plumbing, and electrical work done, It was time to install the stained wood panels, electrical sockets, lights, and electrical panels.
For the main ceiling lights, I replaced all the bulbs with LEDs and I pulled back the wiring from the driver’s panel and ran it to a 3-way switch at the front and back of the RV. This allowed them to be powered by the house batteries instead of the coach batteries that are used to start the engine. For the kitchen and bathroom, I bought a pack of five 12 volt LED lights on Amazon.
I installed two electrical systems, just like in a standard RV: one AC system and one DC system. The AC system powers the air conditioner, 120v outlets, and battery charger. The DC system powers the lights, radio, water pump, and 12v power ports.


Once the interior was complete, it was time to take all the pictures of the finished product and submit all the paperwork to the Virginia DMV to change the designation from bus to motorhome. Although I have a Class B CDL and could drive it, making it officially an RV allows my family/friends to drive it and makes it much easier to sell to somebody when the time comes.


Overall, working 2-3 weekends per month, the vehicle took from December 2014 to May 2016 to complete, with a few tailgates and trips in between.
Tailgating at JMU
My original plan was to have an RV to take tailgating to cheer on the James Madison Dukes at my alma mater. Hotels were notoriously expensive for football weekends and I figured it would be fun to have a vehicle to tailgate with and sleep in after the game.

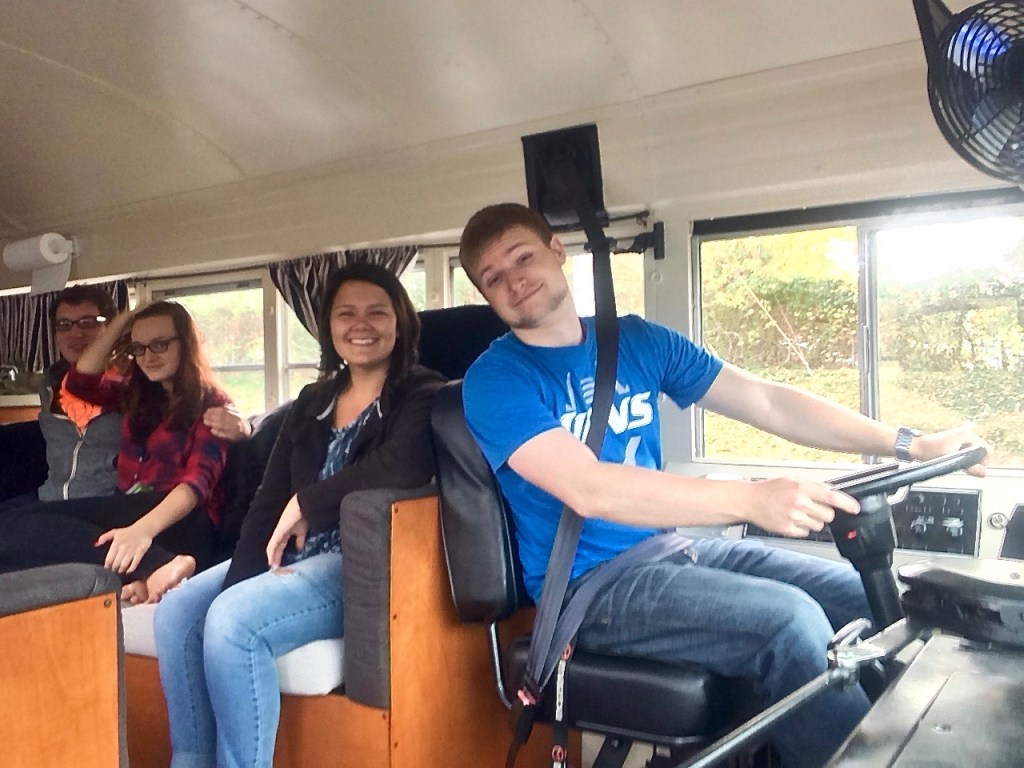
Once the DMV officially recognized the bus as an RV, I was even able to give my friends some driving lessons.
As most of the games were held in either in very warm or cold weather, it was nice to be able to have some shelter from the elements.


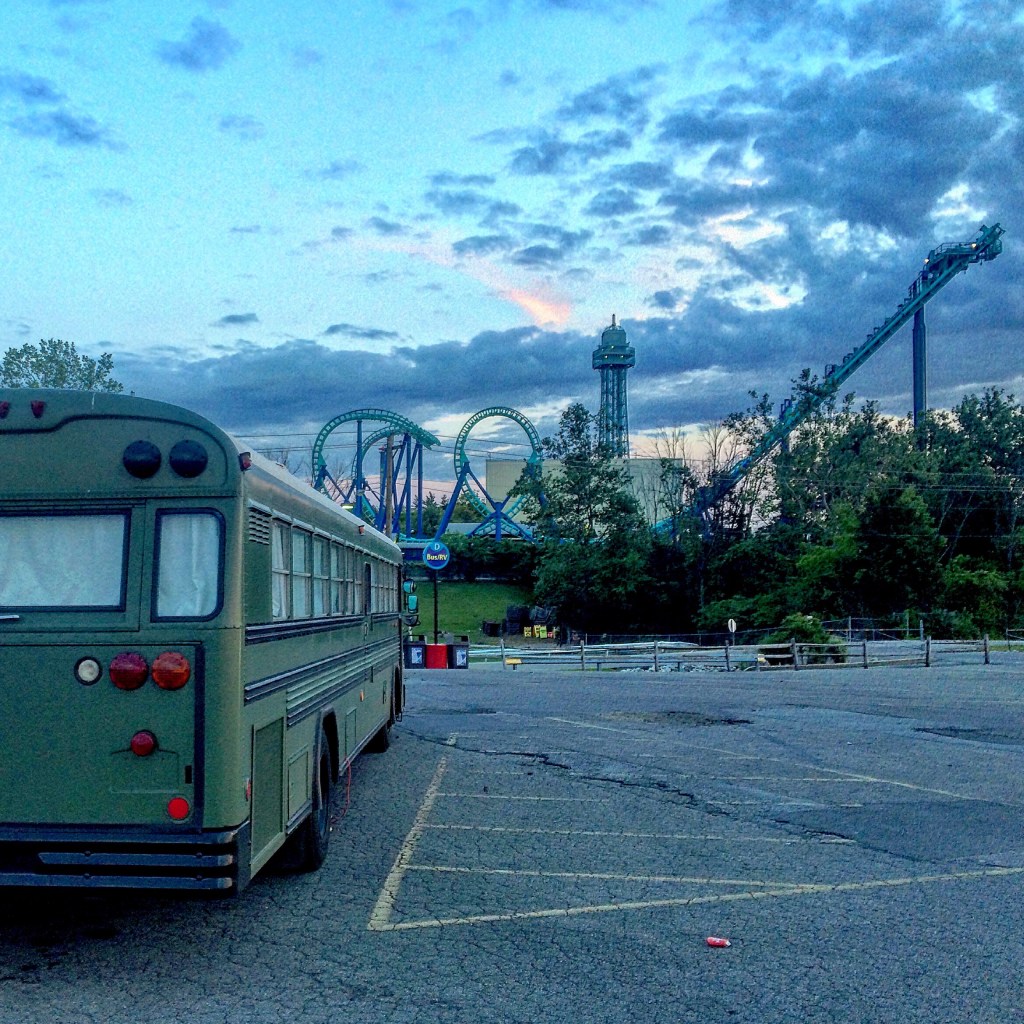
The Cross-country Amusement Park Trip
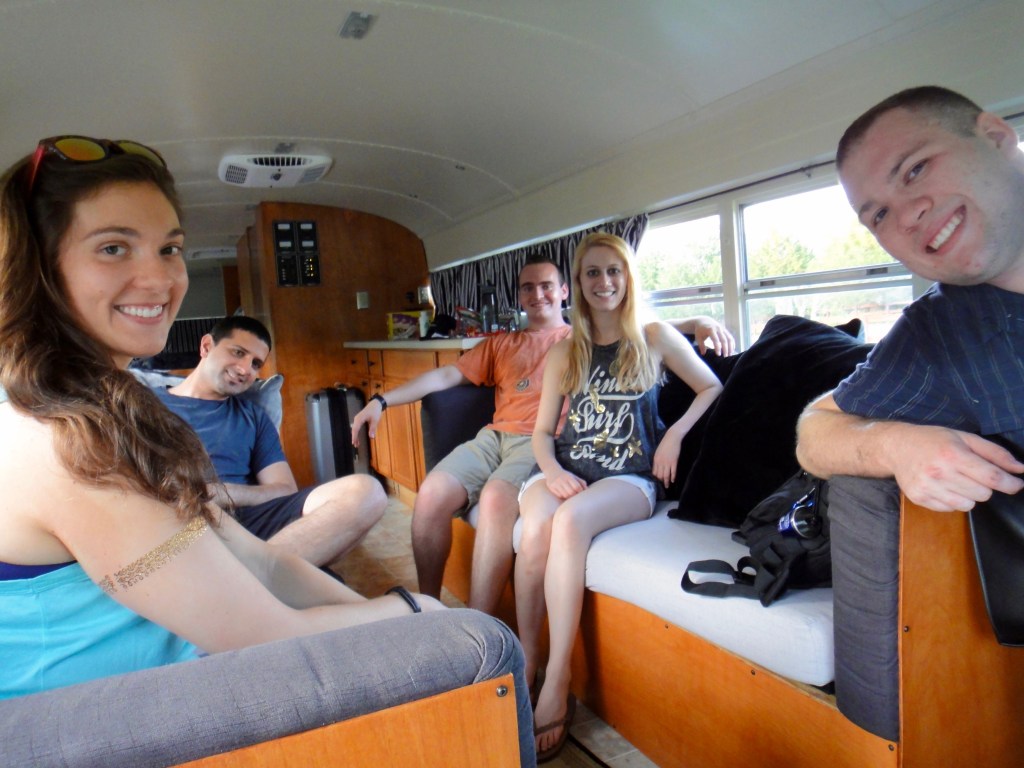
Ultimately, the real utility of the RB was seen back in May of 2016 when we took it on the ultimate road trip. Instead of being crammed in a car for multiple hours at a time, we were able to stretch out in our 38-foot mobile hotel room.

Our adventure took us all the way to Michigan, Kansas, and back to Virginia. Overall, she achieved nearly nine miles per gallon over the 3000 mile journey, drank about a gallon of coolant, and only used two quarts of oil. Not bad for a 20-year old vehicle.

The six of us all bought Cedar Fair platinum passes, which got us into Dorney Park in Allentown, PA; Cedar Point in Sandusky, OH; Michigan’s Adventure in Muskegon, MI; Worlds of Fun in Kansas City, MO; Kings Island outside Cincinnati, OH and finally to Carowinds in Charlotte, NC. We also went ahead and stopped at Schlitterbahn in Kansas City, KS along the way and took a ride on the tallest water slide in the world.


Mud Bogs and Tractor Pulls
Our other favorite place to take the bus was to the mud bogs and tractor pulls down in North Carolina.
Most prominently, were our trips to Dennis Anderson’s Muddy Motorsports Park in Aydlett, NC where we spent Friday to Sunday watching the mud fly.

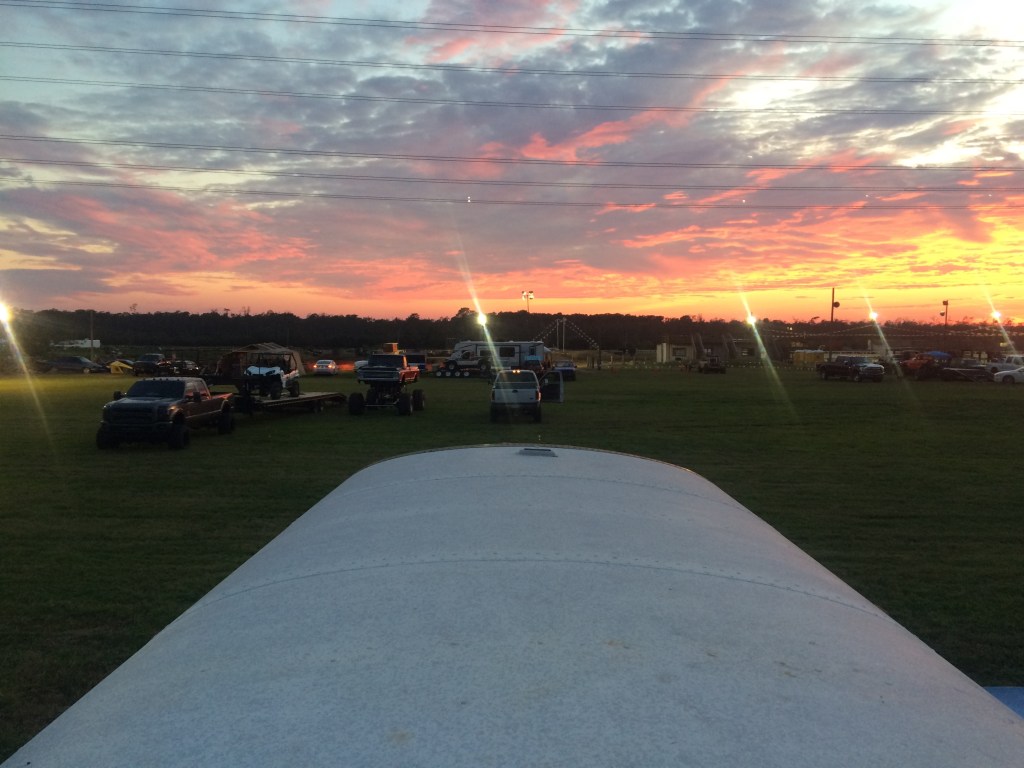
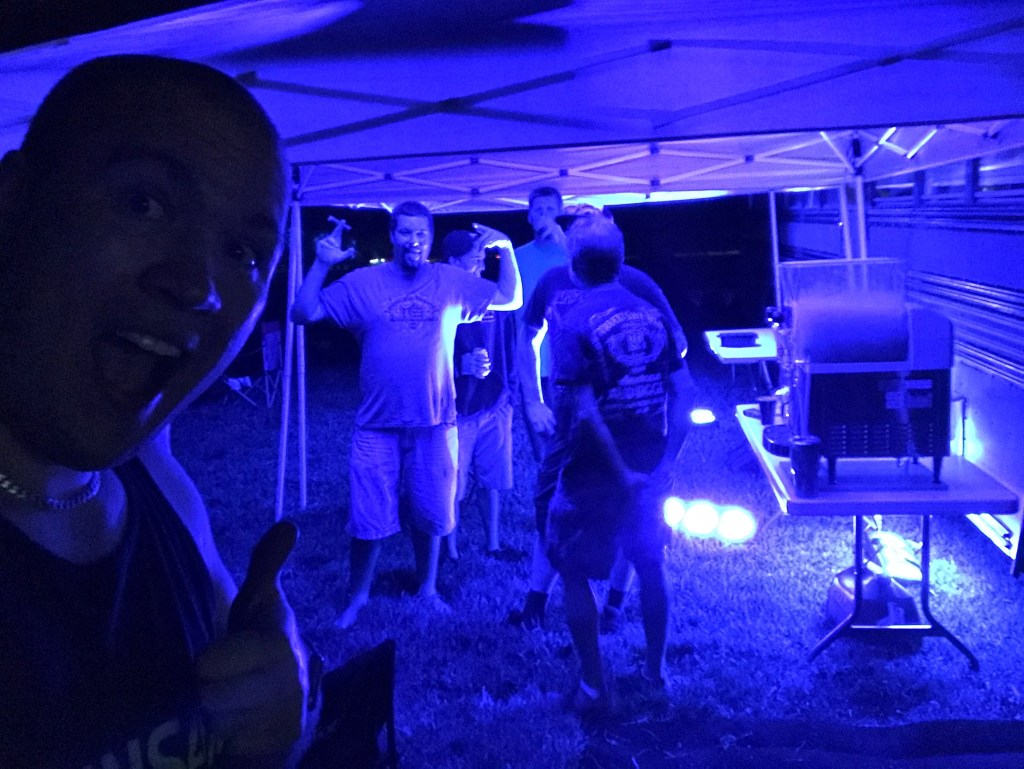
Another fun weekend event was the truck and tractor pull at the now closed Morgan’s Corner Pulling Park.
As long as we arrived early enough, we were able to get a parking spot with a good view of the track.


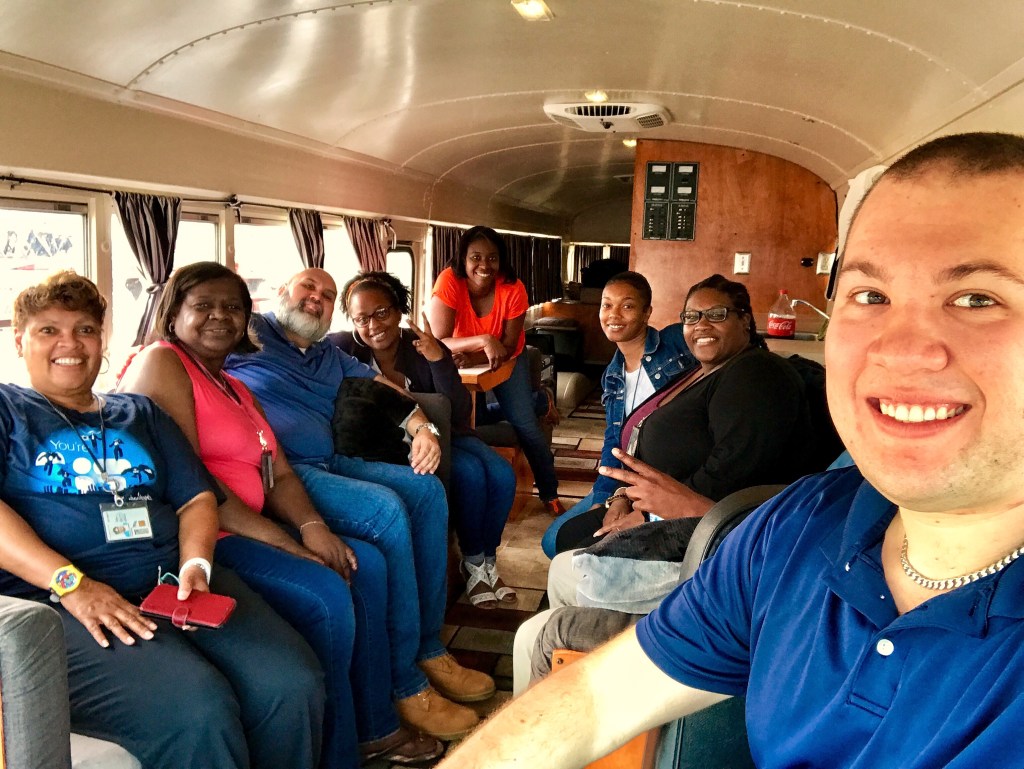
Bring Your Bus to Work Day
Before heading out of town one Friday, I even brought the bus by my office to let my coworkers have a look inside.
A New Home for the RB

Fortunately, I was able to find a buyer who would enjoy the bus every bit as much as I did. A lady named Laura would be putting her own touches on the bus before setting off for a cross-country road trip to California where she and her husband would be living.
In the end, I was sad to see her go, but at least she would be going to a good home. Plus that was one less thing to take care of before my move to Italy.
But not to worry, I will be getting a new RV when I return home in the next few years.
